Globus Connect
The globus plugin allows a logged in user to connect their Globus account to allow for transfer of images from the registry to a Globus endpoint. To use the plugin, you want to take the following steps:
Setup
In your shub/settings/secrets.py file you need to add a client id and secret generated at https://developers.globus.org/. Navigate to the site and do the following:
- Click on the first option, “Register your app with Globus”
- In the top right click “Add –> New App”
- Don’t check any of the boxes at the bottom.
- Choose the following scopes:
profile (Know some details about you.)
email (Know your email address.)
openid (Know who you are in Globus.)
urn:globus:auth:scope:transfer.api.globus.org:all (Transfer files using Globus Transfer)
And finally, the redirect URIs should include the following, where localhost is appropriate if your container is running on your local machine, and some other uri can be used if hosting on a server with a domain name.
http://localhost/globus_auth/login
http://localhost/globus_auth/login/
http://localhost/complete/globus/
http://localhost/complete/globus
http://localhost/globus/login/
http://localhost/globus/login
For reference, we are following these steps.
Then click “Create app.” Once you have the application created, you should copy the client secret and id, and add to your shub/settings/secrets.py file like so:
SOCIAL_AUTH_GLOBUS_KEY="xxxxxxxxxxxxxxxxxxxxxxxxxxx"
SOCIAL_AUTH_GLOBUS_USERNAME="xxxxxxxxxxxxxxxxxxxyyyy@clients.auth.globus.org"
SOCIAL_AUTH_GLOBUS_SECRET="xxxxxxxxxxxxxxx"
If you don’t yet have a secrets.py you can copy the dummy_secrets.py in the same folder, which has commented out examples of the above.
Then, you must build the container setting the build argument ENABLE_GLOBUS to true.
docker build --build-arg ENABLE_GLOBUS=true -t ghcr.io/singularityhub/sregistry .
Once the build is done, start the container.
docker compose up -d
and after you’ve started it, run the script to generate the endpoint (in the example below, the container is named sregistry_uwsgi_1 and we figured this out with docker ps).
docker exec -it sregistry_uwsgi_1 /bin/bash /code/scripts/globus/globus-setup.sh
docker compose restart
The script above will ask you to open your browser to authenticate. This first step is with regard to the endpoint. You, as the admin, are the owner of the endpoint. The user will have to further authenticate from the application interface to interact with it.
Usage
Authentication
Once your server is setup with an endpoint, any logged in user must authenticate with Globus in order to issue a refresh token to make transfers. To add this integration, do the following:
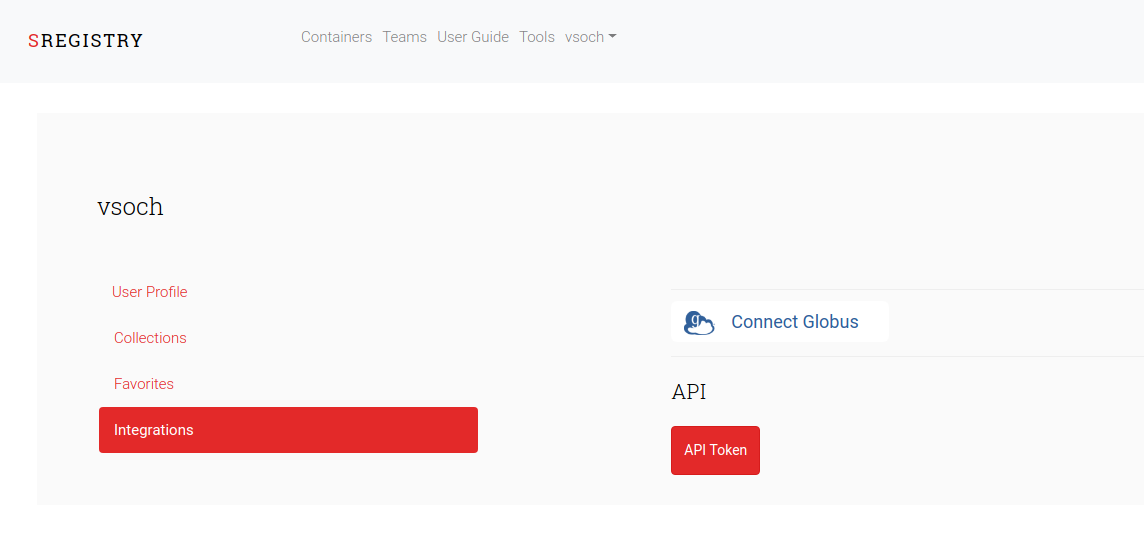
- When you are logged in, you can access your Integrations under Settings in your user menu:
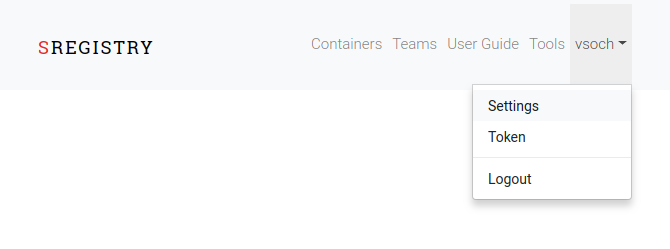
- Go to the “Integrations” tab of the user profile and click “Connect Globus”
- You will be redirected to the Globus Login page. Do that.

- And when you login, you will be redirected to the Globus Transfer page:
Search
The Globus Transfer portal shows endpoints with scope shared-with-me and
my-endpoints. To see endpoints that you might actually want to transfer to,
you should do a search using the box at the top:

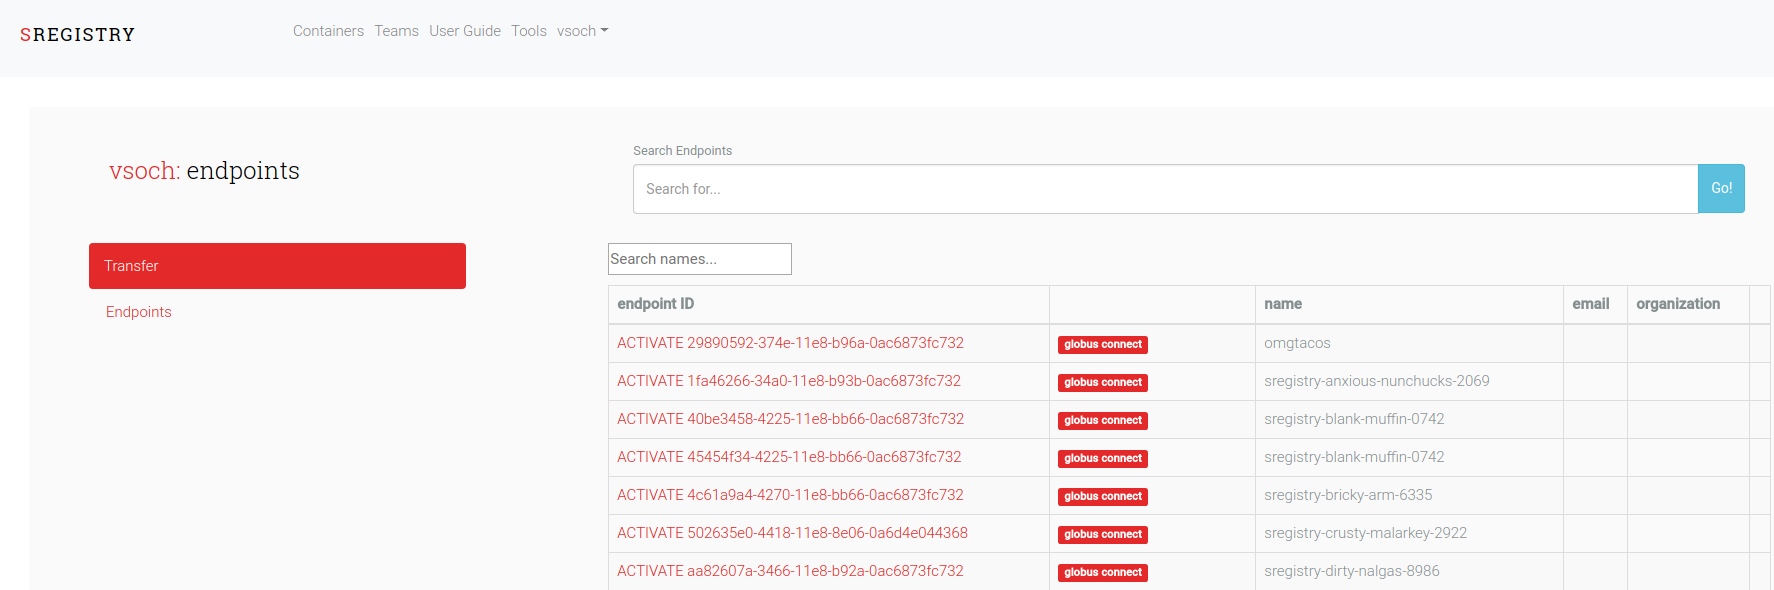
Here is the search result for the query “Stanford” that shows Stanford’s various endpoints.
 .
.
Any endpoint that says “ACTIVATE” you need to follow the link to activate it from Globus. Any endpoint that has a green label “activated” should be ready for use.
Transfer
To do an actual transfer, you can do this directly from your container collections. First, don’t forget that you need to have your credentials set up to push a container using the sregistry client. Let’s pull an image from singularity hub, and push it to our registry:
singularity pull --name avocados.simg shub://vsoch/hello-world
SREGISTRY_CLIENT=registry sregistry push --name tacos/avocados.simg avocados.simg
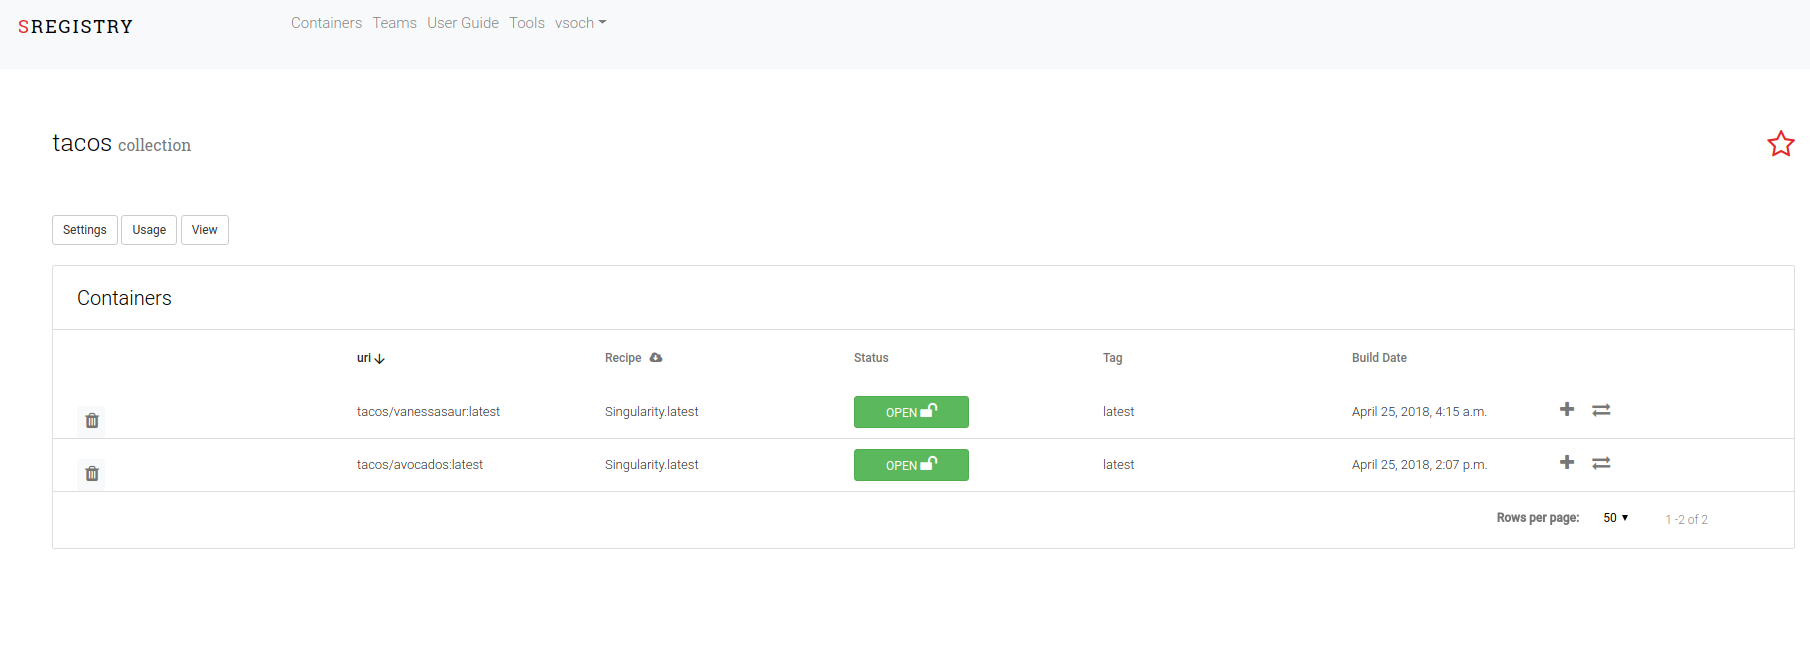
We can now navigate to our “tacos” collection and see the container! We also see that there is a little transfer button (the font awesome exchange icon) next to it:
 .
.
This will take you back to the endpoints page, and you are again free to search for an endpoint that you want to transfer to. This time when you see a green label that indicates an endpoint is activated, you will also see the option to transfer:
 .
.
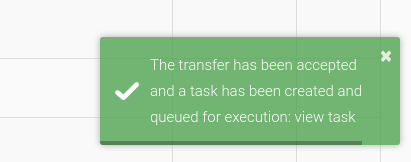
A notification will pop up that the task is underway!
 .
.
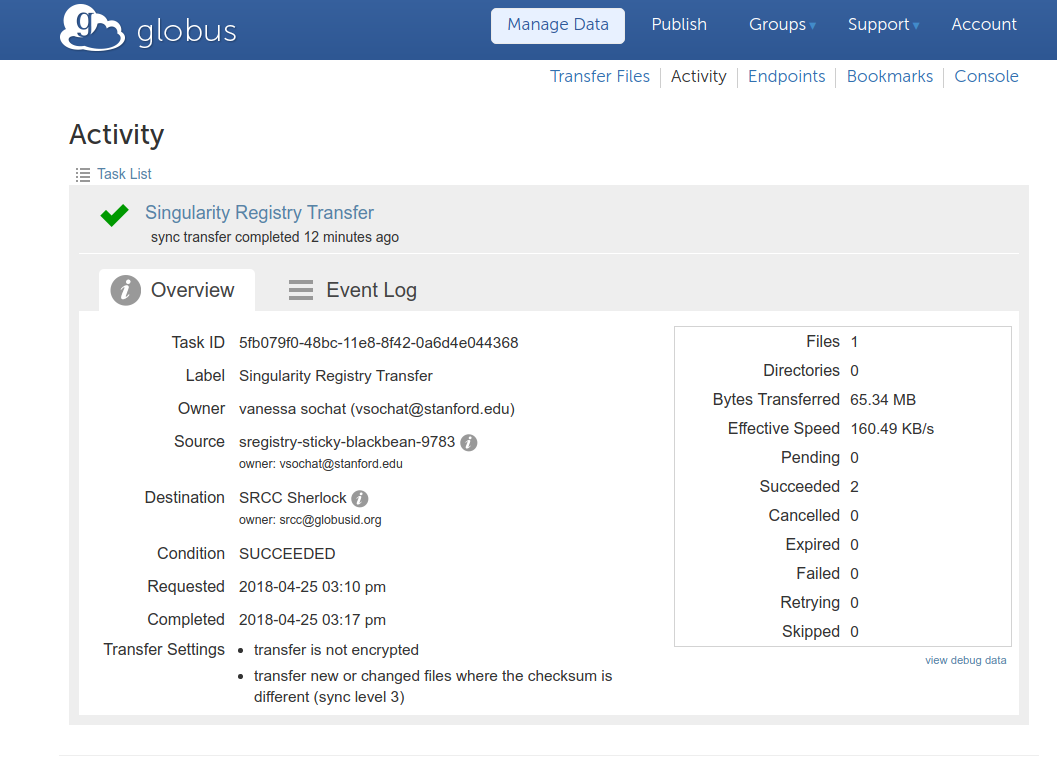
If you click “view task” in the notification you will be taken again to Globus to view the task status. It will hopefully succeed.
 .
.
Finally, when the time is needed (and if you want to, you don’t have to) you can return to the user profile “Integrations” tab and click “Disconnect Globus” to log out.
Background
How does Singularity Registry work with Globus?
Singularity Registry works with Globus by serving its filesystem with images as a read only Globus endpoint. The user authenticates through Globus and is then able to initiate a transfer of any container in the registry to an endpoint they have write permission for, such as one on their local resource.